Email senders
Open Channel → Email → Emails.
What this page is for
Each row is a from address on a verified domain. Every sender has an API token for the Send API and appears in the Send → Send device picker.
You need at least one verified domain under Domains before you can add senders here.
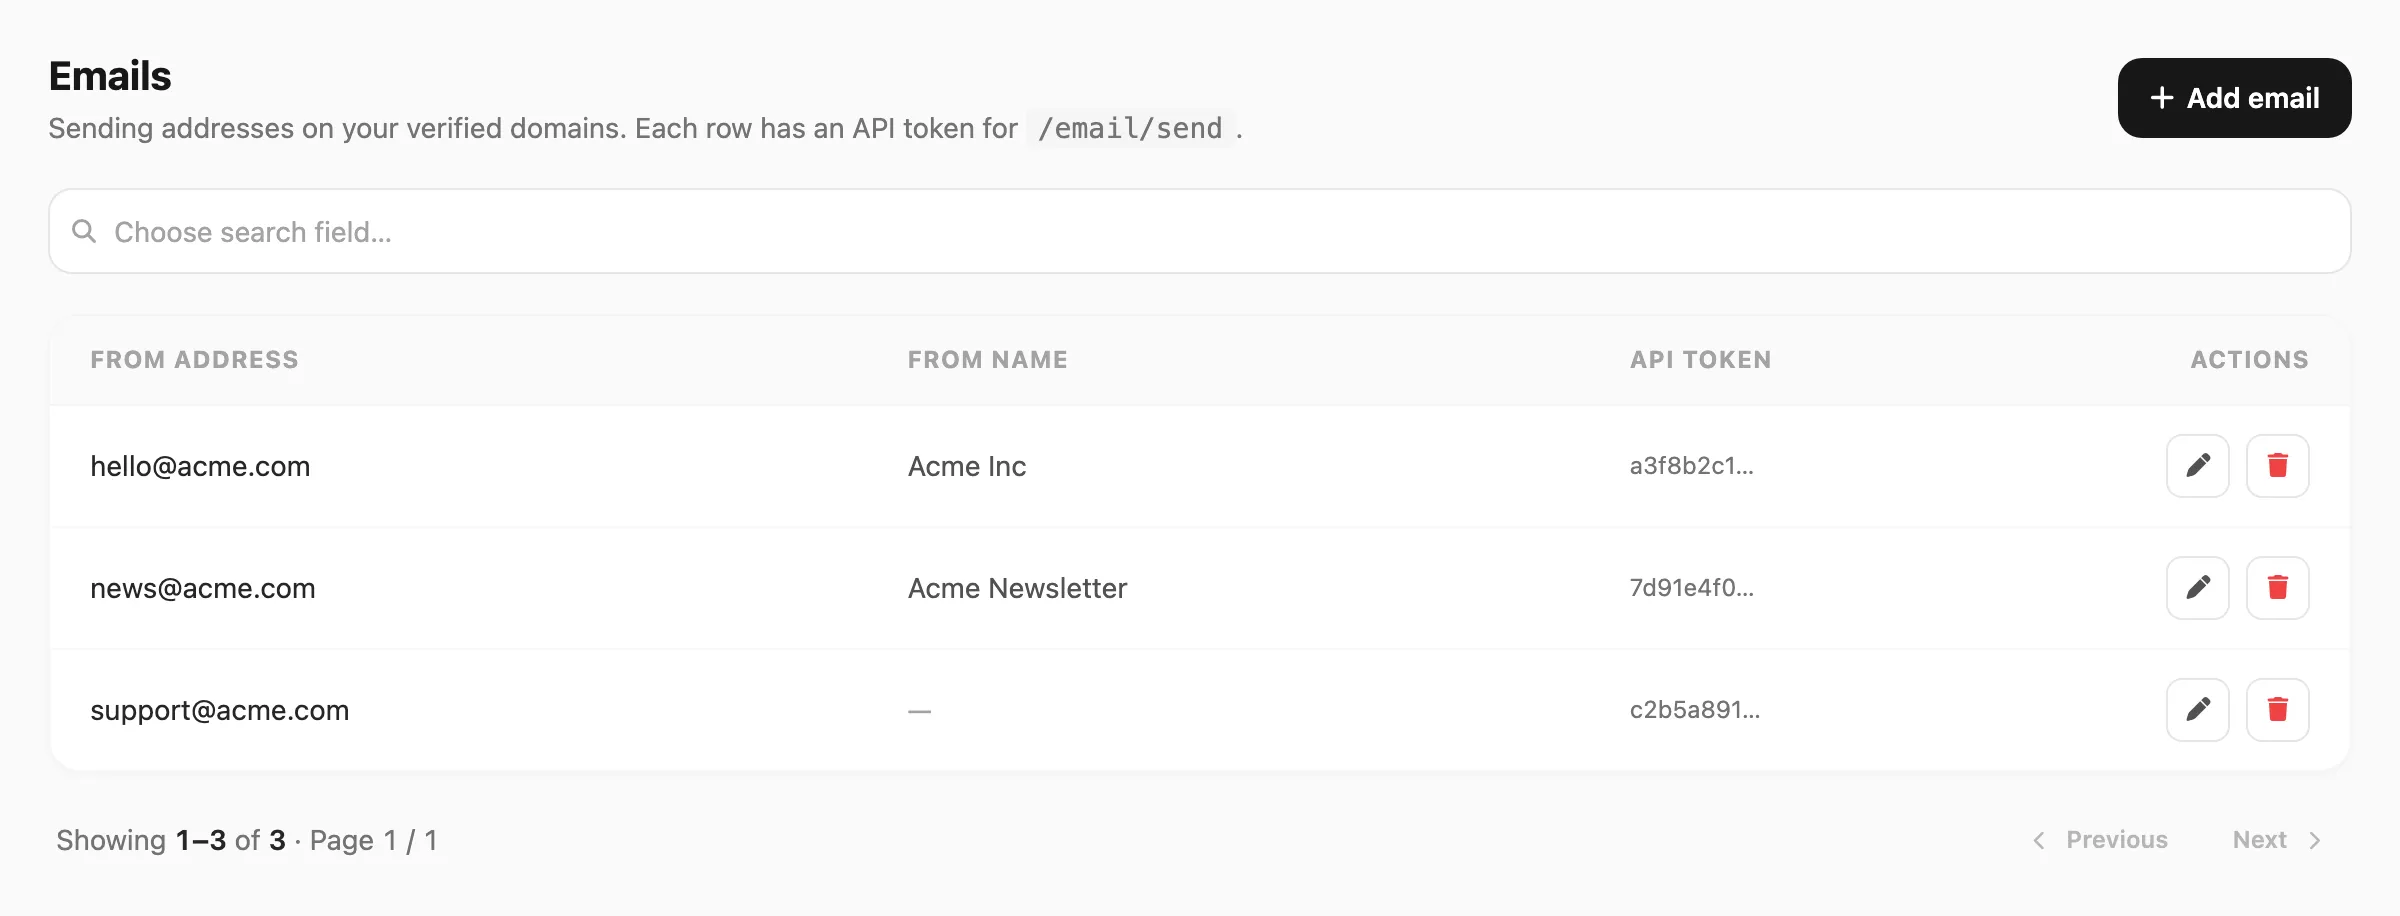
Sample data shown.
| Header control | What it does |
|---|---|
| Add email | Register a new sending address on a verified domain |
Search
Search is field-based — click the search area first, pick which column to search, then type your query.
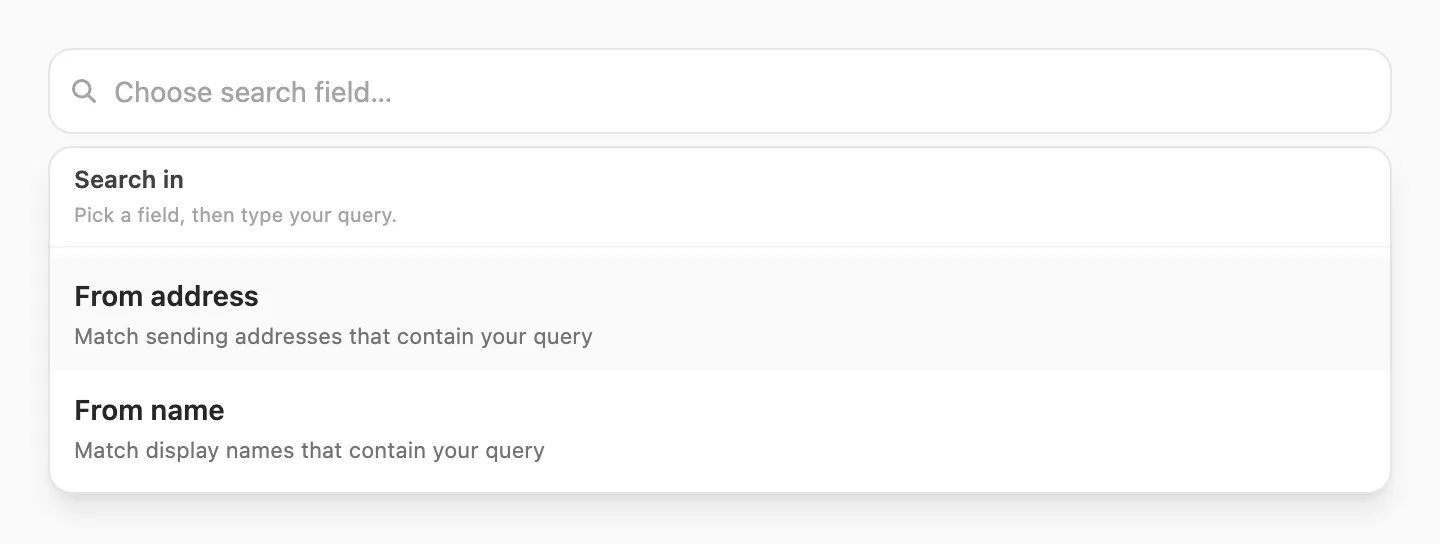
| Step | What happens |
|---|---|
| 1. Click search | A Search in popup opens — you must choose a field before typing |
| 2. Pick a field | From address or From name |
| 3. Type | Kirisan filters the table as you type (short debounce) |
After you pick a field, the search bar shows the field name on the left (for example From address ▼). Click it to switch fields — changing the field clears the query.

| Search field | Matches | Minimum length |
|---|---|---|
| From address | Sending email that contains your query (for example hello matches hello@acme.com) | 3 characters |
| From name | Display name that contains your query | 3 characters |
If you type fewer than three characters, Kirisan waits until the minimum is met and shows a short hint under the search bar.
Sender table

| Column | Meaning |
|---|---|
| From address | Full sending email (mailbox @ verified domain) |
| From name | Display name recipients see — optional |
| Receive mode | How this address handles inbound mail — Inherit (follow domain Receive), Force on, or Force off |
| API token | Truncated sender token for the Send API — full value shown only once when created |
| Actions | Edit and Remove |
Pagination below the table shows 25 senders per page when you have more than one page of results.
Add a sender
- Confirm the domain is verified under Domains.
- Click Add email.
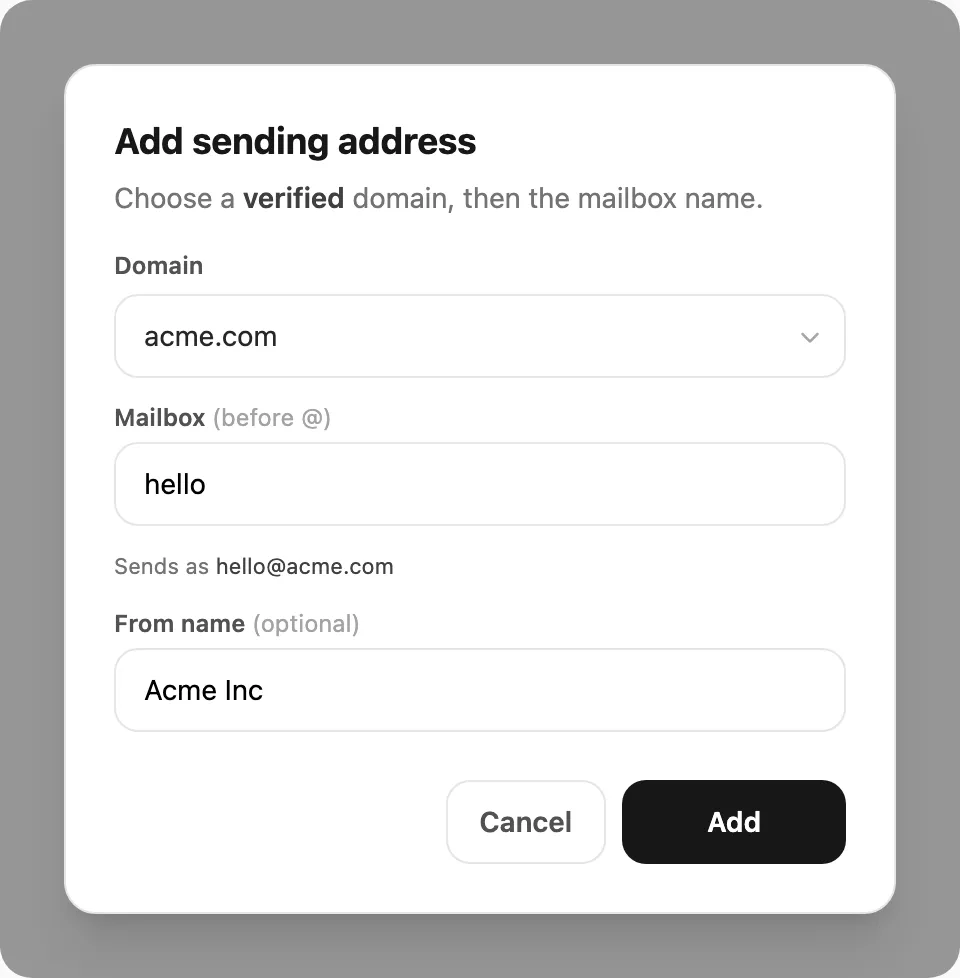
- Choose the Domain from your verified list.
- Enter the Mailbox name (the part before
@, for examplehello→hello@yourdomain.com). - Optionally set a From name (for example
Acme Inc). - Click Add.
On success, Kirisan shows the API token once — copy and store it before closing the dialog.
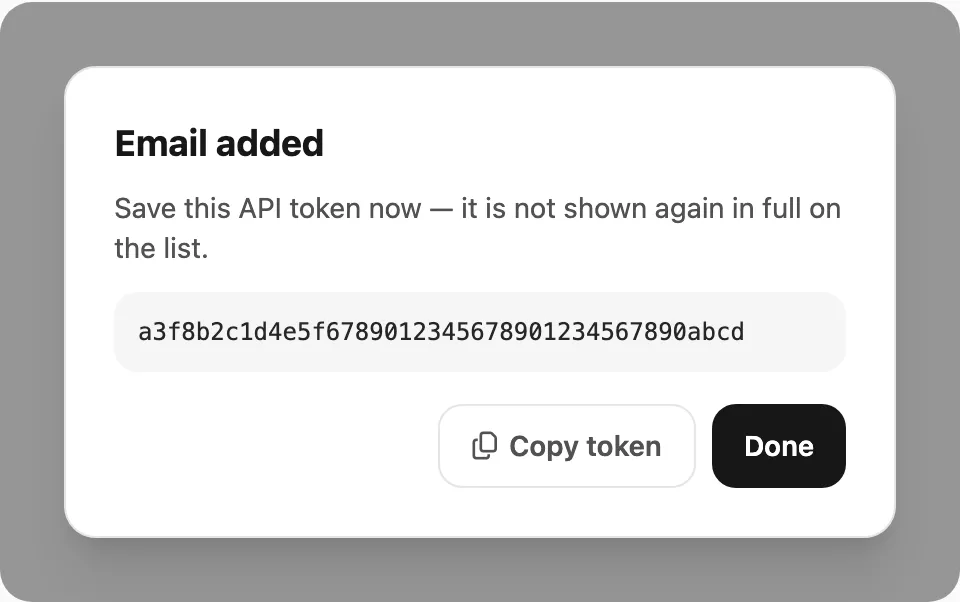
The token is not shown in full on the list afterward. You can still pick the sender in Send → Send without re-entering the token.
Edit sender
Click the Edit icon on a row to change the From name and Receive mode. The from address and API token cannot be changed — remove and re-add if you need a different mailbox.
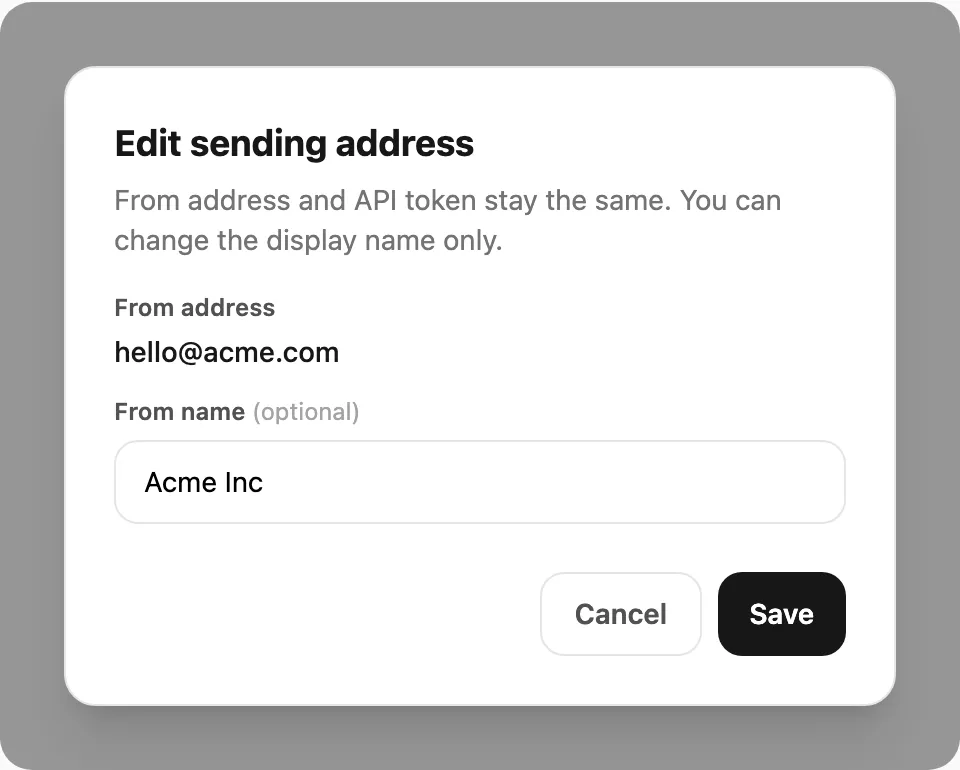
Receive mode options:
| Mode | Meaning |
|---|---|
| Inherit | Follow the domain Receive switch on Domains |
| Force on | Accept mail for this address even if domain Receive is Off (still needs inbound MX verified, and the domain must be the active free slot or paid) |
| Force off | Never accept mail for this address, even if domain Receive is On |
Inbound mail appears in Inbox.
Remove a sender
Click the Remove icon. Kirisan asks you to confirm, then deactivates the address and its API token.
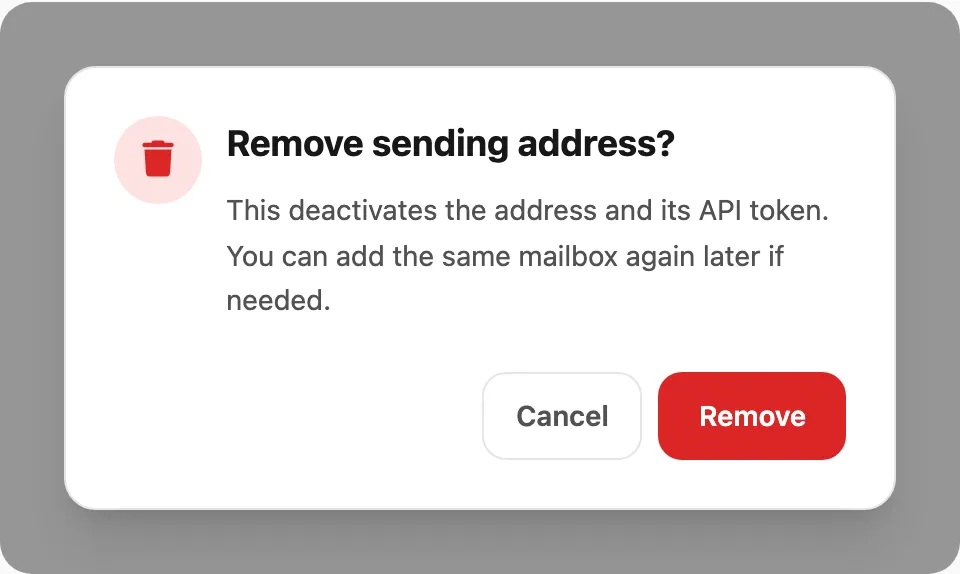
You can register the same mailbox again later if needed.